Using EntityFramework Core for configuration data
IdentityServer is designed for extensibility, and one of the extensibility points is the storage mechanism used for data that IdentityServer needs. This quickstart shows how to configure IdentityServer to use EntityFramework (EF) as the storage mechanism for this data (rather than using the in-memory implementations we had been using up until now).
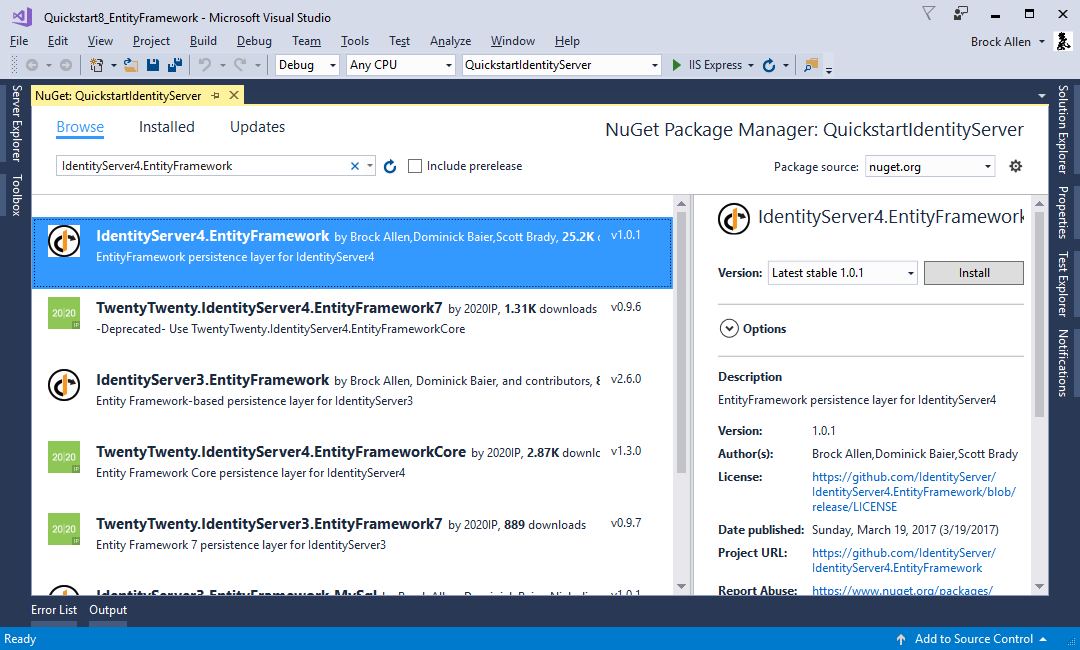
IdentityServer4.EntityFramework
There are two types of data that we are moving to the database. The first is the configuration data (resources and clients). The second is operational data that IdentityServer produces as it’s being used. These stores are modeled with interfaces, and we provide an EF implementation of these interfaces in the IdentityServer4.EntityFramework Nuget package.
Get started by adding a reference to the IdentityServer4.EntityFramework Nuget package the IdentityServer project (use at least version “1.0.1”).
Adding SqlServer
Given EF’s flexibility, you can then use any EF-supported database. For this quickstart we will use the LocalDb version of SqlServer that comes with Visual Studio.
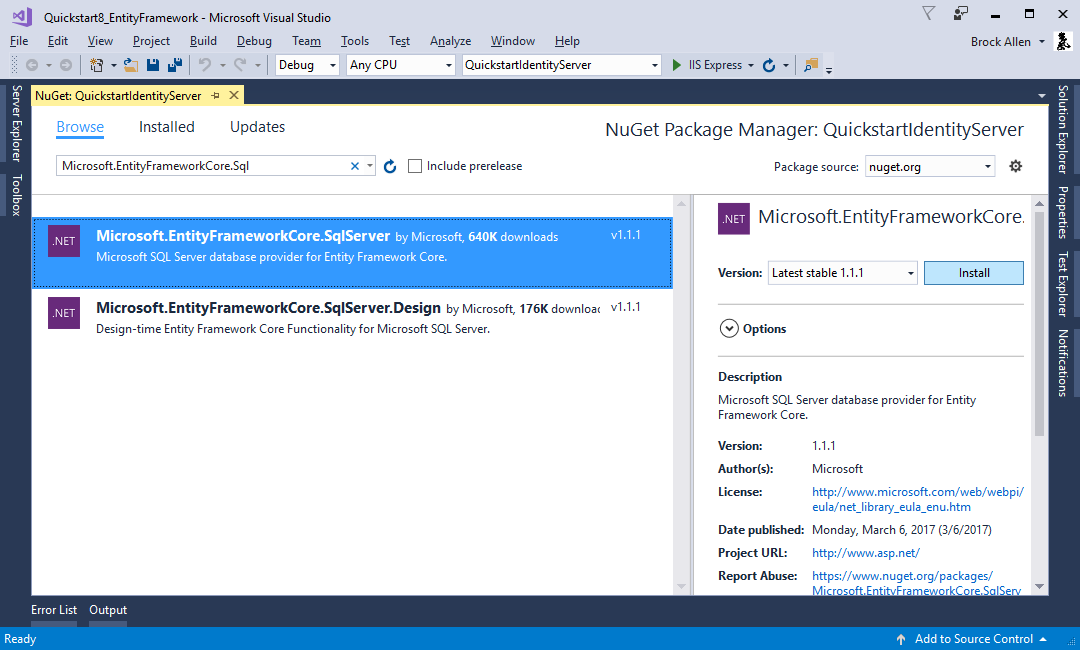
To add SqlServer, we need several more NuGet packages.
Add Microsoft.EntityFrameworkCore.SqlServer:
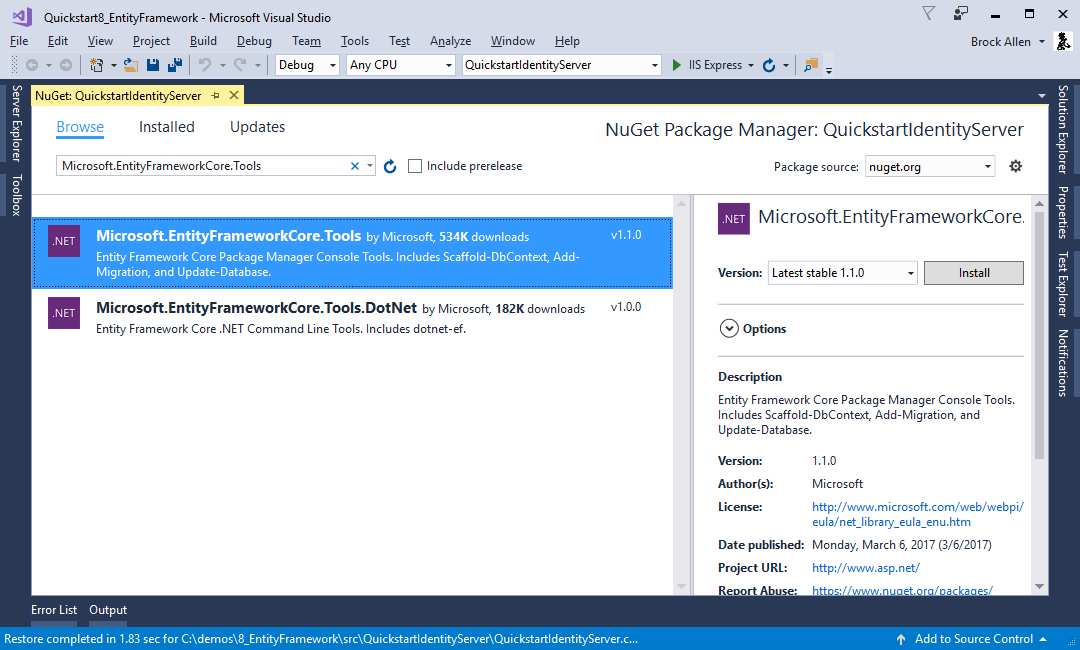
And Microsoft.EntityFrameworkCore.Tools:
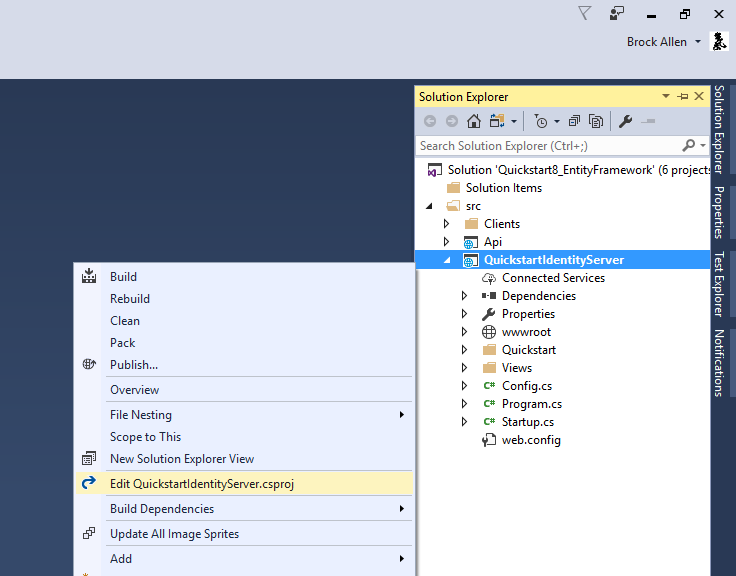
Next, we need to add some command line tooling (more details here). Unfortunately this must be done by hand-editing your .csproj file. To edit the .csproj by right-click the project and select “Edit projectname.csproj”:
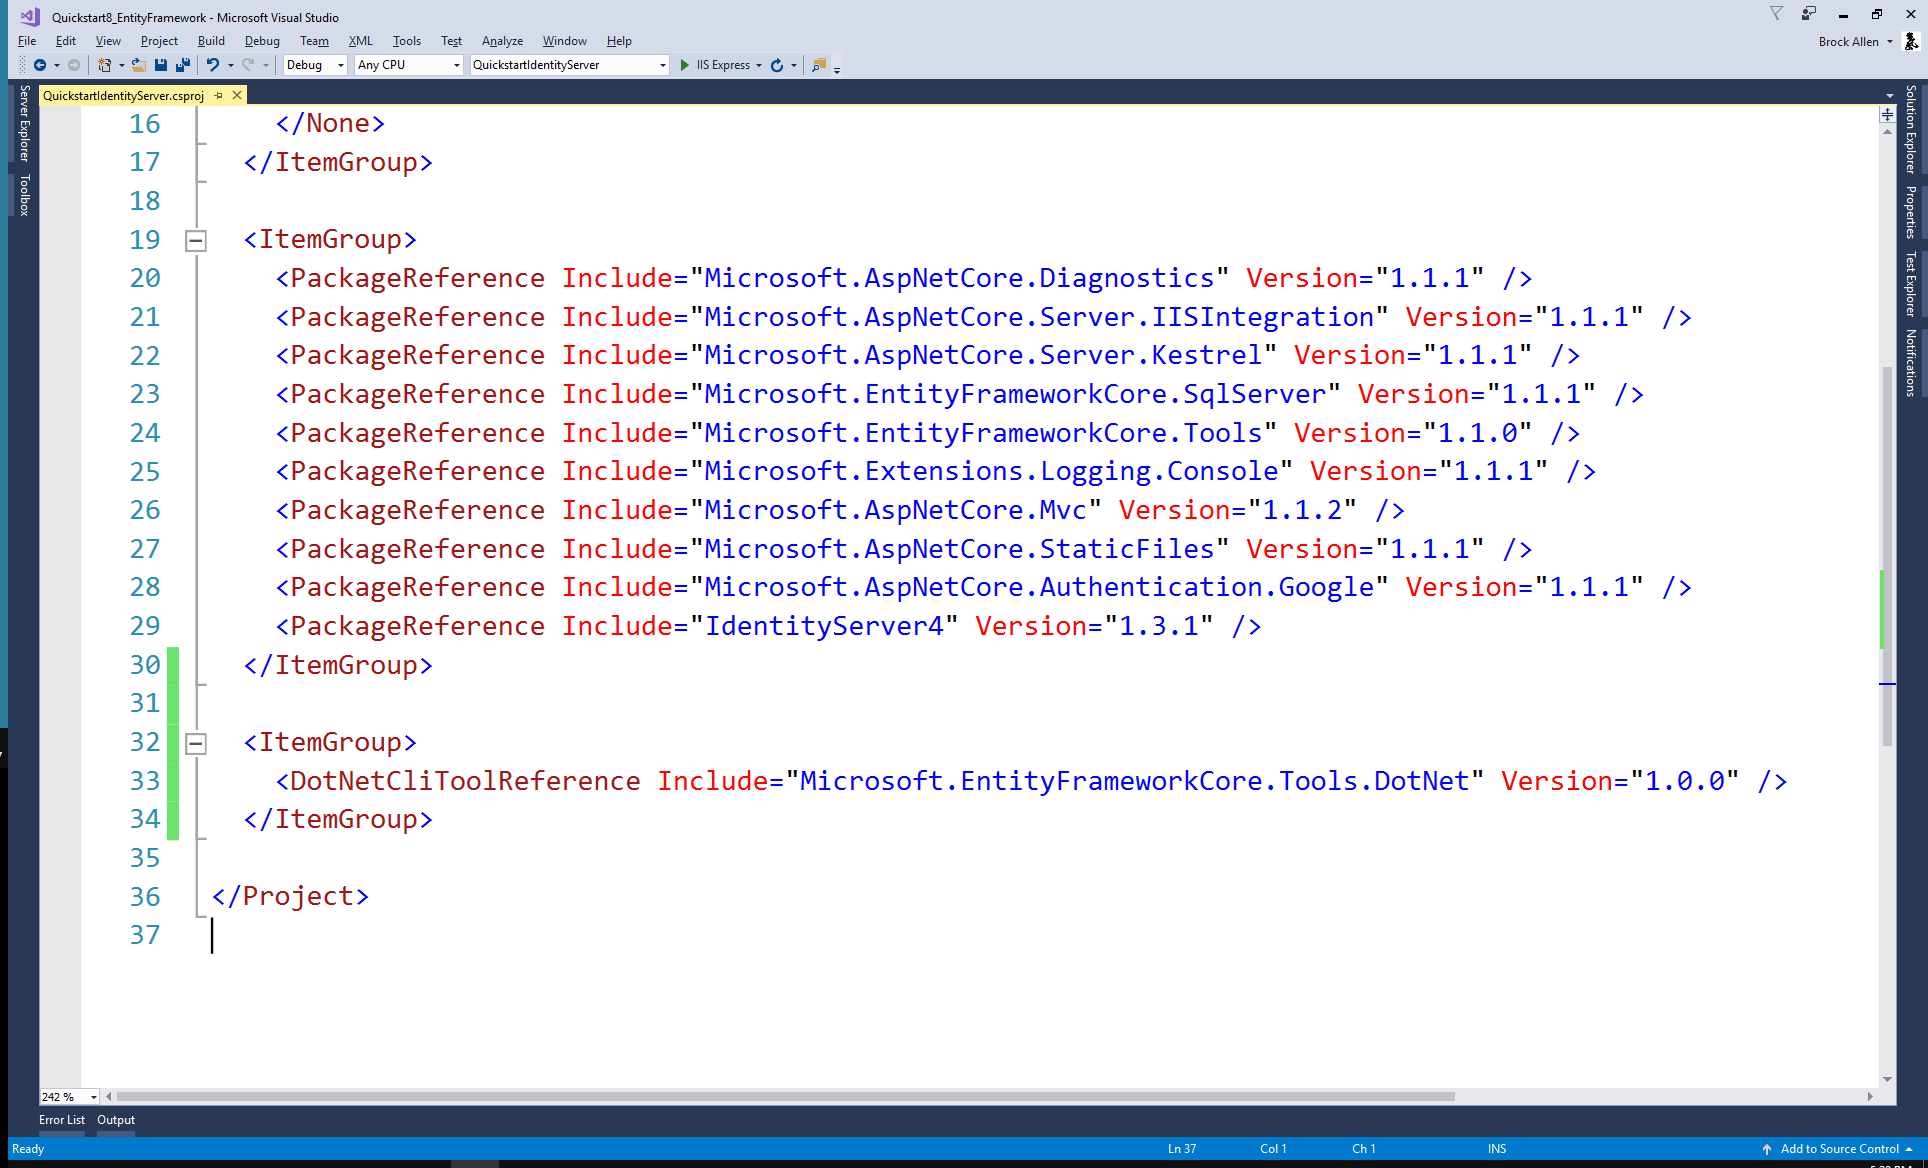
And then add the below snippet before the end </Project> element:
<ItemGroup>
    <DotNetCliToolReference Include="Microsoft.EntityFrameworkCore.Tools.DotNet" Version="1.0.0" />
</ItemGroup>
It should look something like this:
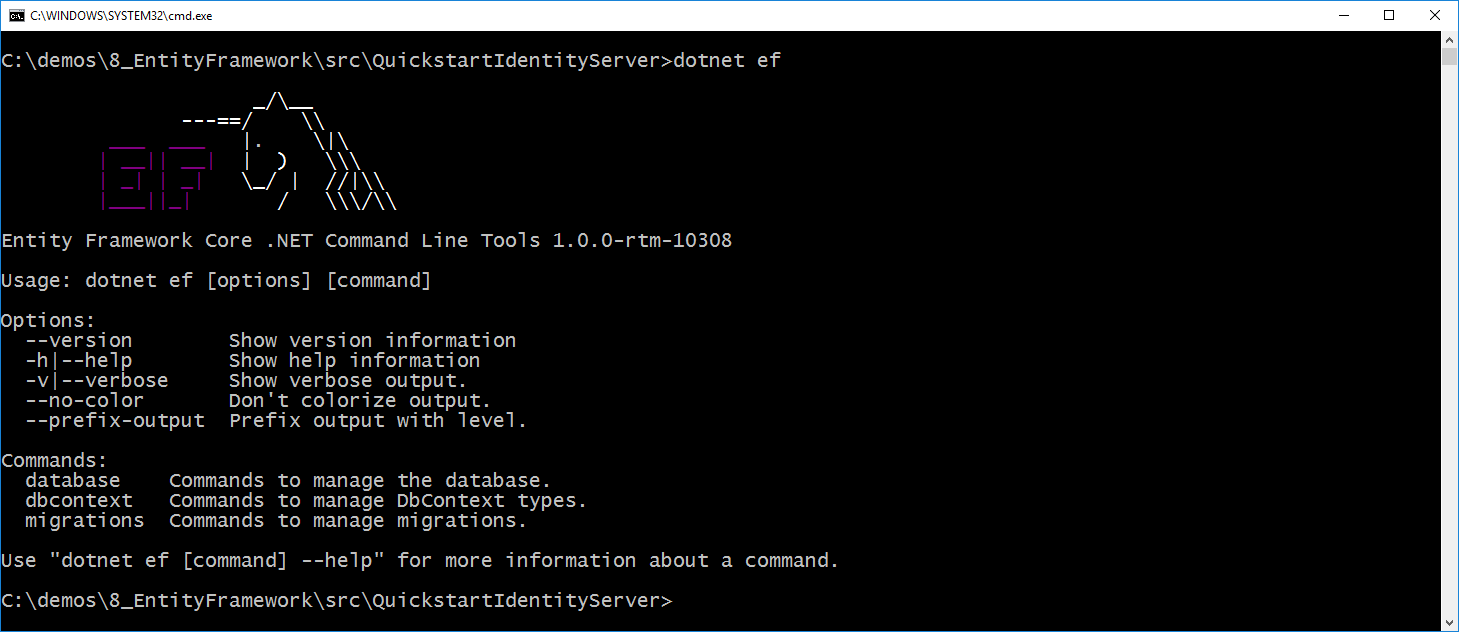
Save and close the file. To test that you have the tools properly installed, you can open a command shell in the same directory as the project and run dotnet ef. It should look like this:
Configuring the stores
The next step is to replace the current calls to AddInMemoryClients, AddInMemoryIdentityResources, and AddInMemoryApiResources in the Configure method in Startup.cs.
We will replace them with this code:
using Microsoft.EntityFrameworkCore;
using System.Reflection;

public void ConfigureServices(IServiceCollection services)
{
    services.AddMvc();

    var connectionString = @"server=(localdb)\mssqllocaldb;database=IdentityServer4.Quickstart.EntityFramework;trusted_connection=yes";
    var migrationsAssembly = typeof(Startup).GetTypeInfo().Assembly.GetName().Name;

    // configure identity server with in-memory users, but EF stores for clients and resources
    services.AddIdentityServer()
        .AddTemporarySigningCredential()
        .AddTestUsers(Config.GetUsers())
        .AddConfigurationStore(builder =>
            builder.UseSqlServer(connectionString, options =>
                options.MigrationsAssembly(migrationsAssembly)))
        .AddOperationalStore(builder =>
            builder.UseSqlServer(connectionString, options =>
                options.MigrationsAssembly(migrationsAssembly)));
}
The above code is hard-coding a connection string, which you should feel free to change if you wish.
Also, the calls to AddConfigurationStore and AddOperationalStore are registering the EF-backed store implementations.
The “builder” callback function passed to these APIs is the EF mechanism to allow you to configure the DbContextOptionsBuilder for the DbContext for each of these two stores.
This is how our DbContext classes can be configured with the database provider you want to use.
In this case by calling UseSqlServer we are using SqlServer.
As you can also tell, this is where the connection string is provided.
The “options” callback function in UseSqlServer is what configures the assembly where the EF migrations are defined.
EF requires the use of migrations to define the schema for the database.
Note
It is the responsibility of your hosting application to define these migrations, as they are specific to your database and provider.
We’ll add the migrations next.
Adding migrations
To create the migrations, open a command prompt in the IdentityServer project directory. In the command prompt run these two commands:
dotnet ef migrations add InitialIdentityServerPersistedGrantDbMigration -c PersistedGrantDbContext -o Data/Migrations/IdentityServer/PersistedGrantDb
dotnet ef migrations add InitialIdentityServerConfigurationDbMigration -c ConfigurationDbContext -o Data/Migrations/IdentityServer/ConfigurationDb
It should look something like this:
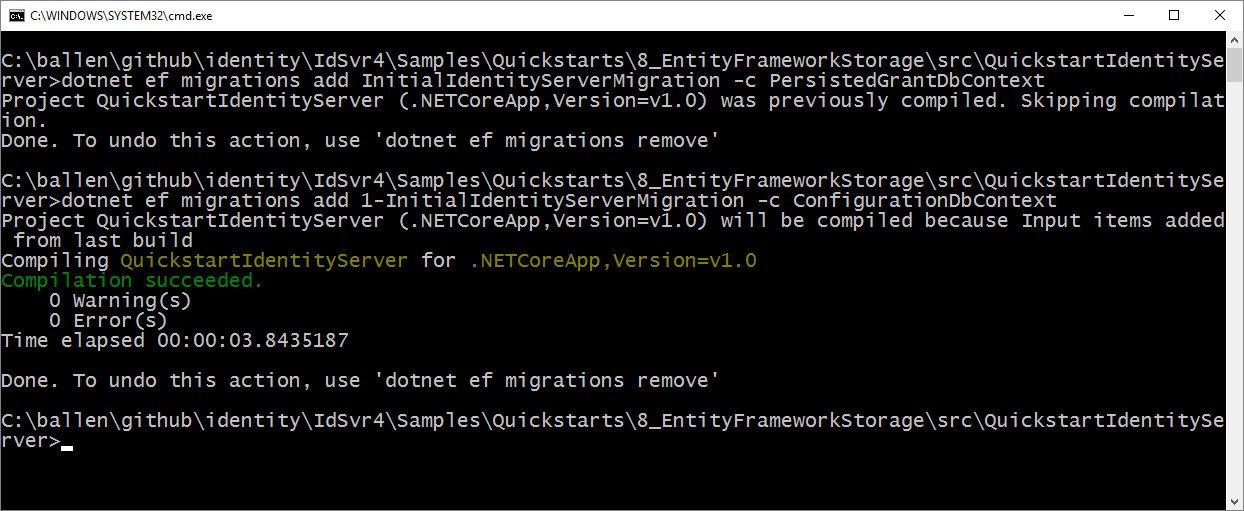
You should now see a ~/Data/Migrations/IdentityServer folder in the project. This contains the code for the newly created migrations.
Initialize the database
Now that we have the migrations, we can write code to create the database from the migrations. We will also seed the database with the in-memory configuration data that we defined in the previous quickstarts.
In Startup.cs add this method to help initialize the database:
private void InitializeDatabase(IApplicationBuilder app)
{
    using (var serviceScope = app.ApplicationServices.GetService<IServiceScopeFactory>().CreateScope())
    {
        serviceScope.ServiceProvider.GetRequiredService<PersistedGrantDbContext>().Database.Migrate();

        var context = serviceScope.ServiceProvider.GetRequiredService<ConfigurationDbContext>();
        context.Database.Migrate();
        if (!context.Clients.Any())
        {
            foreach (var client in Config.GetClients())
            {
                context.Clients.Add(client.ToEntity());
            }
            context.SaveChanges();
        }

        if (!context.IdentityResources.Any())
        {
            foreach (var resource in Config.GetIdentityResources())
            {
                context.IdentityResources.Add(resource.ToEntity());
            }
            context.SaveChanges();
        }

        if (!context.ApiResources.Any())
        {
            foreach (var resource in Config.GetApiResources())
            {
                context.ApiResources.Add(resource.ToEntity());
            }
            context.SaveChanges();
        }
    }
}
And then we can invoke this from the Configure method:
public void Configure(IApplicationBuilder app, IHostingEnvironment env, ILoggerFactory loggerFactory)
{
    // this will do the initial DB population
    InitializeDatabase(app);

    // the rest of the code that was already here
    // ...
}
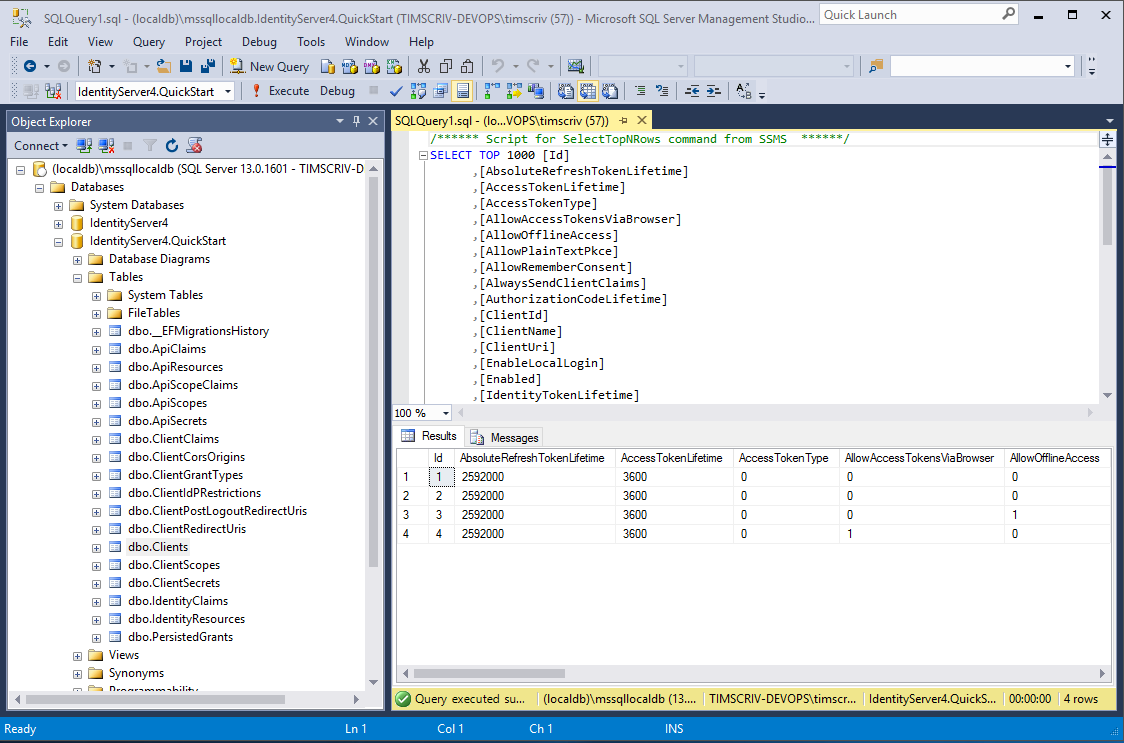
Now if you run the IdentityServer project, the database should be created and seeded with the quickstart configuration data. You should be able to use SqlServer Management Studio or Visual Studio to connect and inspect the data.
Run the client applications
You should now be able to run any of the existing client applications and sign-in, get tokens, and call the API – all based upon the database configuration.